
Learning how to jump rope just became easy! With this simple, illustrated guide we’ve covered everything from choosing the right jump rope and how to size it, to learning the basic movements and how to perform them efficiently.
I’ve been jumping rope for years and I can humbly say, I’m pretty dang good at it.
What’s taken me years to learn and perfect, I’ve condensed into a single article with some instructional photos to help fast-track your jump rope learning experience.
The steps outlined in this how-to article are broken up into 5 parts: Getting Started, Mastering the Basics, Practicing the Basic Jump, Additional Fundamentals, and Developing Your Skills. They are best read in order, from top to bottom. Skipping a step (pun intended) can create a longer learning curve and increase your risk of injury.
Additionally, make sure to consult your doctor before beginning any new exercise program.
Always consult your physician before beginning any exercise program. This general information is not intended to diagnose any medical condition or to replace your healthcare professional. Consult with your healthcare professional to design an appropriate exercise prescription.
Lastly, if you have any questions or comments I’d love to hear from. Drop a comment below and I’ll do my best to get back to you same day.
Let’s jump into it!
1. How to Jump Rope: Getting Started
In this first section of our illustrated how-to guide, we’ve covered everything you need to know to get going. Choosing the right jump rope, how to size it properly, what to wear and the best surfaces to jump on.
These are critical to your success!
Choosing the right jump rope
The wrong jump rope is going to make learning how to jump rope much more challenging. It’s important you select the right jump rope for your skill level. I’ve included two different ropes, one for beginners and one for those who have jumped rope before.
Make your selection and move on to the next step.
Weighted jump rope (best for beginners with zero experience)
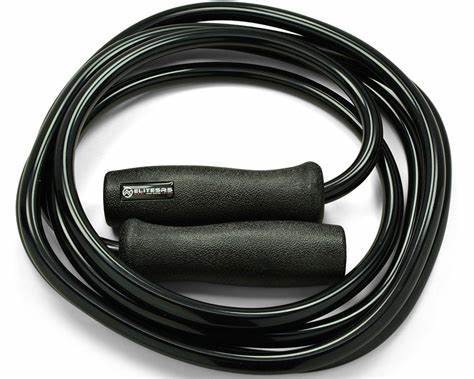
The best jump rope to learn with, in my opinion, is a slightly heavier rope.
The additional weight in the rope and handles will enable you to feel the rope as it rotates around your body, making it easier to time your jumps and give you more control over the rotations.
My favorite weighted rope is a Muay Thai jump rope. EliteSRS makes a great version of this rope. It’s made from thick PVC (which gives it a nice weight) and comes in 3 different sizes depending on your height.
This is basically identical to the jump rope I learned how to jump rope with, which I still use it to this day.
Speed Rope (best for those with at least some experience)
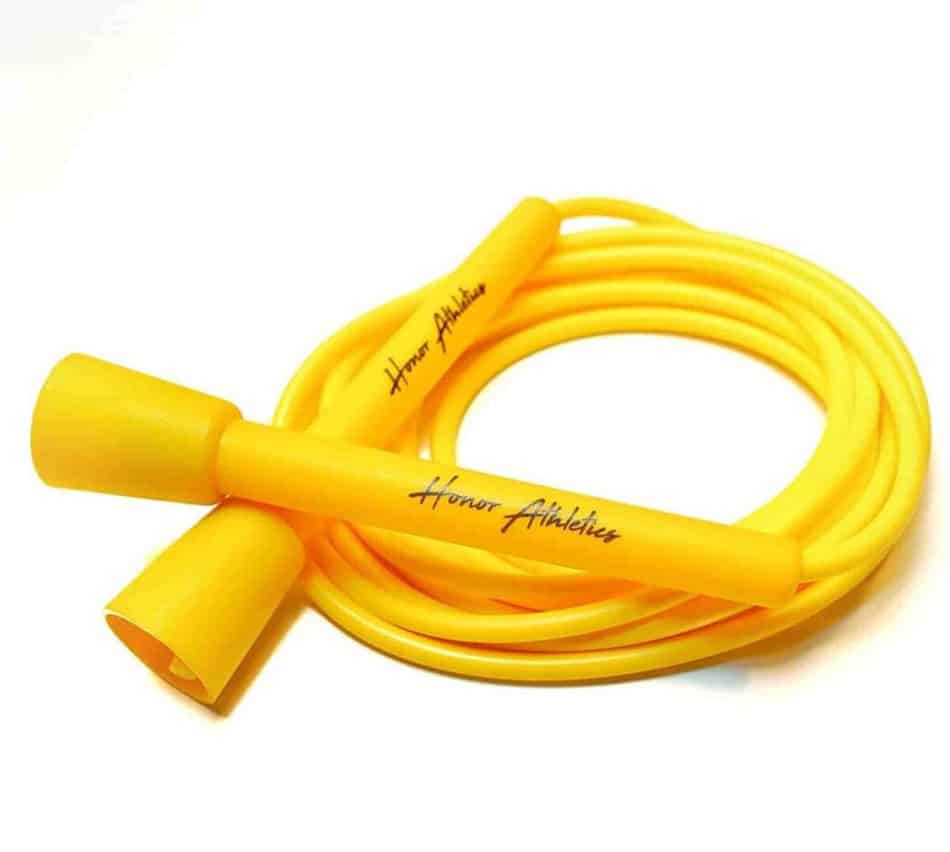
For those of you with some prior experience jumping rope (or anyone looking for more of a challenge) I’d go with a speed rope.
While a speed rope is going to a bit more difficult to learn with, it’s going to give you the most versatility in the end. Once you learn, a speed rope will enable you to perform more advanced tricks and movements like crossovers and side swipes.
My favorite speed rope to learn with is the Speed Rope by Honor Athletics, also known as the “Flash Rope”. This rope is made from 5mm vinyl PVC and is adjustable, making it the perfect fit for any height.
I currently use this one.
How to size your jump rope
Once you have your jump rope selected, it’s important to make sure it’s sized correctly. This step is crucial to set yourself up for success.
Certain jump ropes, like the Muay Thai rope, come in fixed sizes. These are non-adjustable ropes, so you’ll need to select the correct size before you purchase the rope.
Other jump ropes, like the Speed Rope from Honor Athletics, are adjustable. I love these ropes because you can change the size depending on who’s using the rope and what they’re using it for.
And some ropes require you to size and cut the cable, then attach it to the handles. I try to avoid these kind of jump ropes, for that very reason.
Regardless of the rope you select, the size should roughly match the following lengths.

Depending on which rope you go with, you may require additional instructions. Our Jump Rope Sizing Guide makes sizing any jump rope simple and easy. Check it out.
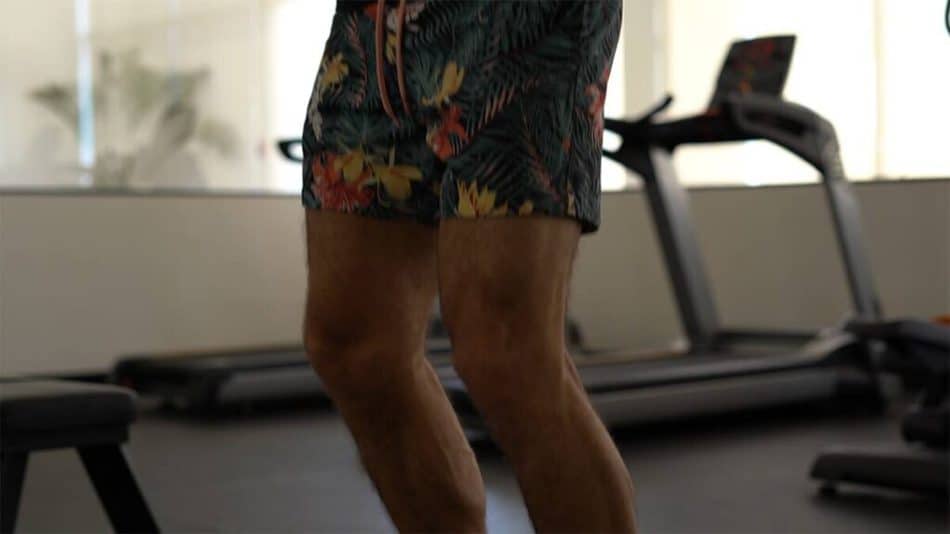
What clothes to wear
While you can jump rope in just about any outfit, some outfits are going to be more comfortable than others. Jumping in heavy or baggy clothing, for example, can make it more difficult.
This is especially true if you’ve never jumped rope a day in your life.
I typically wear a pair of fitted shorts and a t-shirt or tank top. Don’t overthink it. I’m sure you can find something in your closet without having to go out and buy something new. Just make sure to choose something lightweight and ideally fitted.
I’d also recommend wearing shoes when learning how to jump rope. It’s likely you’ll end up hitting your feet more than a few times.
The lighter and more fitted your outfit is, the easier you’ll find it to focus on the fundamentals and your form. You’ll also find it a lot more comfortable jumping in something light.
The right surface to jump on
The surface you choose to jump on won’t make or break your learning experience, however the right surface can make it much easier and more enjoyable.
The ideal surface for a beginner is going to be on a mat. The cushion a mat provides will ensure you don’t damage your joints or injure yourself. If a mat isn’t available to you, your next best option is asphalt, followed by concrete.
I’ve been jumping rope for a long time and haven’t had any issues jumping on concrete. That said, I prefer jumping rope barefoot, so I went ahead and got myself a jump rope mat.
The Jump Rope Mat by EliteSRS is solid. This is the one I use.
As a beginner, learning how to jump rope, you’ll want to stay away from sand and grass. A more advanced jumper might find it beneficial jumping on those surfaces, but for the purpose of learning keep it on a mat, asphalt, or concrete.
2. How to Jump Rope: Mastering the Basics (Without the Rope)
Now it’s time to start practicing.
To start, it’s best to jump without a rope. This will allow you to get the basic movement and form down without having to focus on jumping over the rope. Once you feel comfortable, incorporate the rope.
Also, it’s best to do this in front of a mirror, so you can see yourself as you jump. Being able to see your form makes it much easier to make minor tweaks and adjustments as you go.
There are three things I want you to focus on as you practice in front of the mirror, without the rope. Focus on keeping your knees bent, staying on the balls of your feet, and ensuring your jumps are small and controlled.
Knees bent
Bend your knees slightly. This will ensure that the weight from your jumps is loaded onto your muscles as opposed to your joints. This is imperative for protecting your joints and ligaments.
Without doing anything else, start jumping.
When you land, your knees should still be slightly bent. At no time do you want to lock out your knees. Last thing you want to do is injure yourself.
Once you feel comfortable jumping while keeping your knees bent, move on to the next step.
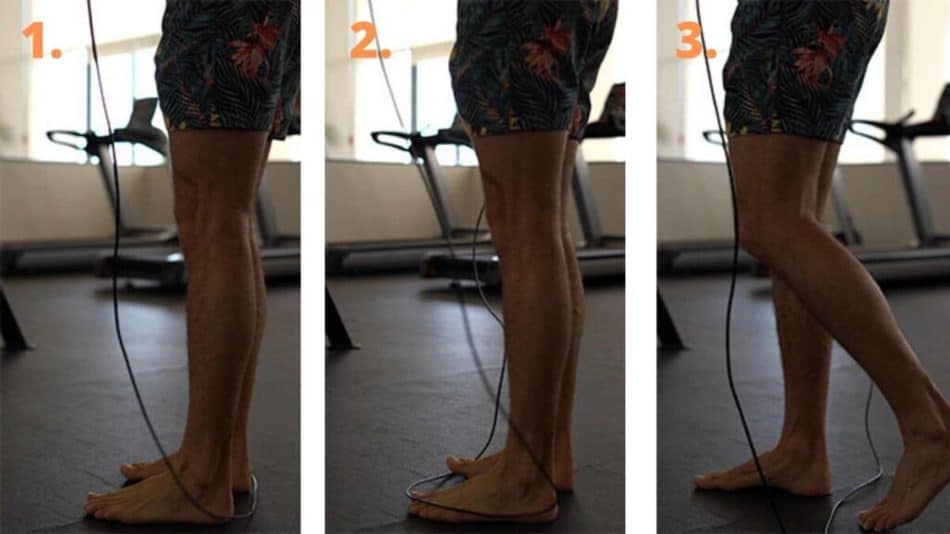
Stay on the balls of your feet
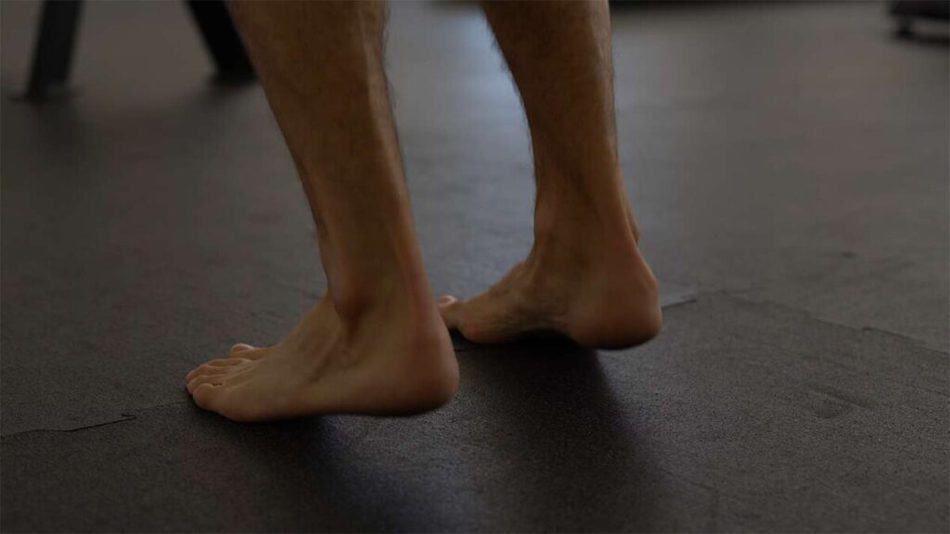
Like keeping your knees bent, staying on the balls of your feet is critical for jumping rope safely.
When you jump, you want to bounce up using the balls of your feet. Additionally, when you land each jump, you should be landing on the balls of your feet. Your heels should never touch the ground.
Staying on the balls of your feet will allow you to be lighter on your feet. You’re able to move quicker and jump with less effort. It will also ensure you don’t injure your heels or ankles.
This is jump rope 101… master this.
Small, controlled jumps
Once you’re able to jump on the balls of your feet, with your knees bent, focus on the jumps themselves. It’s a very common mistake to want to jump higher than is needed.
The truth is you should only be jumping a couple inches off the ground. Just high enough for you to be able to clear the rope as it passes beneath you.
Watch yourself in the mirror, how high are you jumping?
Drilling this to perfection is key to becoming proficient rope jumper. Much of the things you’ll learn later on depend on you being as efficient as possible with your movements.
Once you feel comfortable with these three items, add the jump rope.
3. How to Jump Rope: Practicing the Basic Jump (With the Rope)
Now that you feel comfortable with the basic jump, it’s time to practice with your jump rope.
If this is your first time using a jump rope, be patient with yourself. You’ll likely trip over your rope quite a bit, which can be frustrating. I promise it won’t take long to figure it out, though.
If you can, continue to practice in front of the mirror. This will be hugely beneficial when it comes to making the adjustments we’ll cover in the next section.
How to hold your jump rope
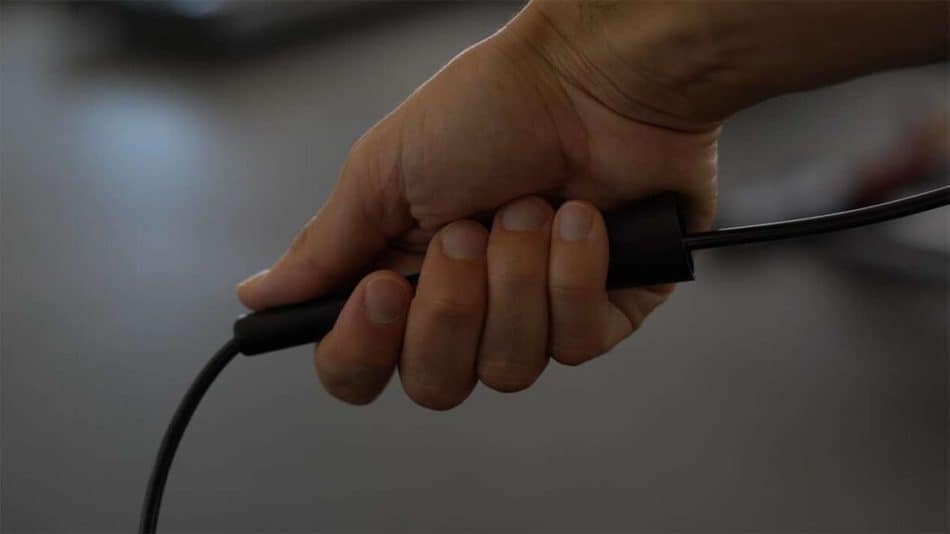
Start by wrapping your four fingers around the handle and position your thumb at the very end of your rope. See the image above for an example of how to correctly hold the handles.
It should almost look like you’re making a thumbs up with your hand.
And make sure not to squeeze too hard, the handles should be held lightly. Holding the handles lightly will enable you to get faster and smoother rotations.
Now, let’s get a few practice rotations.
Practice rotation
With the rope in your hands, we’re going to simulate a few rotations without jumping. This will give you a general idea of the mechanics required to jump rope.
Start by standing with your feet slightly closer than shoulder width apart. Let the rope hang behind you, with the cable slightly touching the back of your heels.
Swing the rope around your body, letting it hit the floor in front of your feet.
Then, one foot at a time, step over the rope. This will return the cable to the original position with it behind your feet, slightly touching your heels.
That’s one rotation.
You shouldn’t need to do this more than a few times, if at all. It can be helpful though. Practice this a few times, then move on to the next step.
How to rotate the jump rope (use your wrists, momentum)
The rotation of your jump rope is all done in the wrists.
You want to make small circles with your wrists to spin the rope. Once you get going, you can also utilize the momentum of the cable to assist in the revolutions.
Avoid using your arms or shoulders to turn the rope. This is probably the most common sign of an inexperienced rope jumper. It looks silly and it is inefficient.
You’re better than that, I promise.
The rotation of the rope is an important fundamental to get right. Doing it correctly will make you look more professional and enable jump for longer without making mistakes.
Putting it all together
Now, it’s time to put all of the things you’ve learned together and start jumping.
If you can, continue to practice in front of a mirror.
We’re not looking to do anything crazy here, just get some solid rotations without tripping over the rope. Make sure to focus on your form, keeping your knees bent, staying on the balls of your feet, and keeping your jumps small and controlled.
Don’t get discouraged if you trip up a few times, or a bunch of times. That’s expected.
Becoming good at any new skill is about small, incremental improvements. What I suggest is to keep track of how many successful jumps you get, in a row. Then, try to beat that.
If you’re patient with yourself, you should be jumping rope like a pro in no time.
4. How to Jump Rope: Additional Fundamentals
There are a handful of other items you’ll want to focus on as you practice. These fundamentals are key to becoming a better rope jumper.
Implement them one at a time, and don’t move on to the next one until you’ve mastered it.
The final 3 things I want you to pay attention to are keeping your elbows close to your body, keeping your wrists pointed outwards, and maintaining good posture.
Elbows tucked to your side
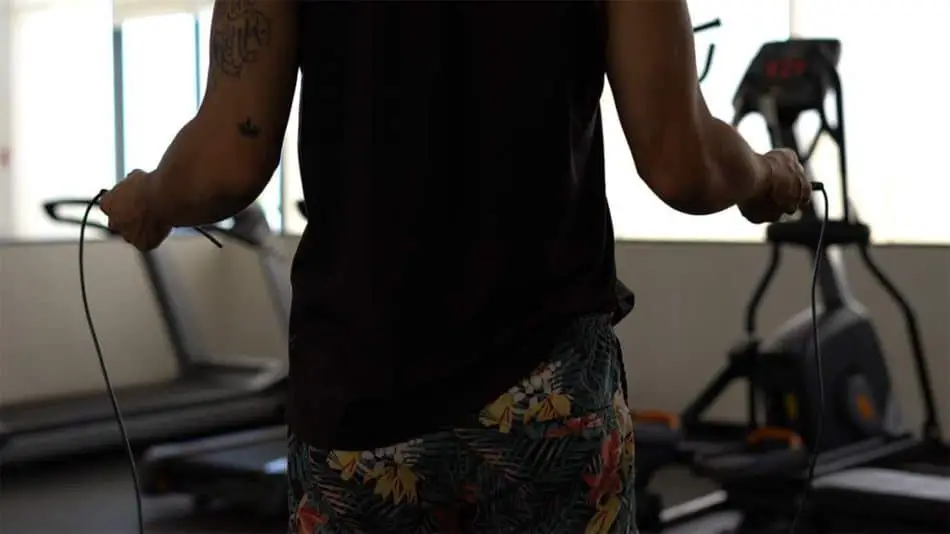
When jumping, it’s important to keep your elbows close to your body.
The key here is to keep your elbows tucked to your side, meaning avoid flailing your arms out to your side. Your elbows should only be a few inches away from your body, no more.
It’s very common for new jumpers to want to extend their arms and use their entire arm to rotate the rope. This looks silly and is extremely inefficient.
Master this, then move on to the next step.
Keep your wrists pointed outwards
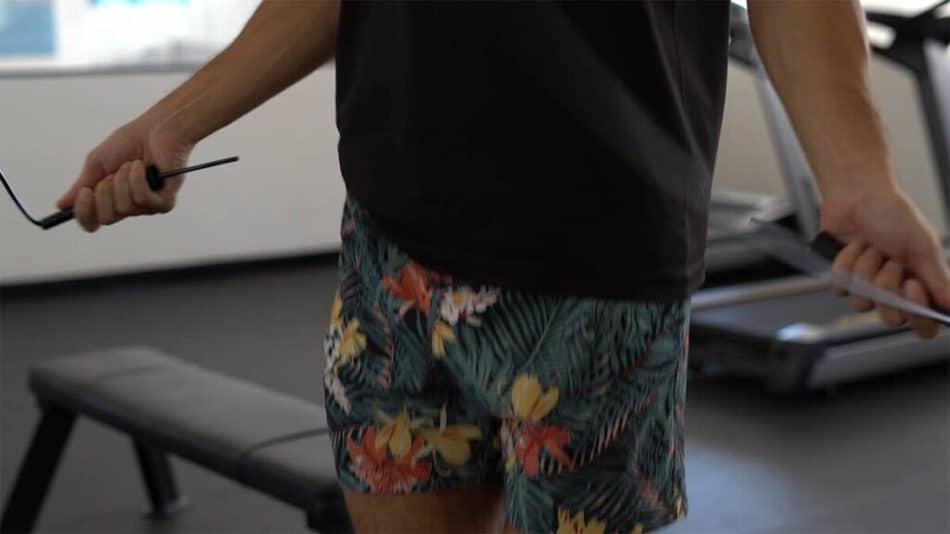
The next jump rope fundamental you’ll want to practice is keeping your wrists pointed outwards, away from your body. This goes hand-in-hand with keeping your elbows tucked to your side.
By keeping your wrists pointed away from your body, and your elbows tucked in, you’re able to rotate the rope using your wrists. This will ensure you’re using your body efficiently. The last thing you want to do is use your entire arm to turn the rope.
This is key to long jump rope sessions. Once you can do this consistently, you’ll have a much easier time jumping rope for 20 or 30 minutes.
Maintain good posture (upright, head up)
Lastly, focus on maintaining good posture while you jump.
When you jump rope, you want to keep a strong center of balance. Your upper body should be centered over your hips, your shoulders should be pulled back, and your head up.
This will allow your body to work together efficiently and prevent you from injuring yourself.
When looking at yourself in the mirror, it should look “pretty”. Chances are if you look good doing it, you’re probably using good form.
5. How to Jump Rope: Developing Your Skills
Now that you’ve got the hang of the basic jump, it’s time to elevate your jump rope skills. This is where things start to get really fun.
I won’t cover anything too complex or advanced, however there are a handful of movements that you should learn if you want to become proficient with your jump rope. Those moves are the boxer step, single leg jumps, high knees, and the double-under.
Even if you don’t feel like a professional, mastering these moves will make you look like one!
And they aren’t as difficult as you might think. All of these moves are only a slight deviation from the basic jump. With just a little bit of practice you should be able to learn each one without too much frustration.
Learning the Boxer Step
The Boxer Step is one of the first jump rope tricks I learned, and I still use it every time I jump rope. Not only does it look cool, but it helps you use your energy more efficiently.
It’s a fairly basic concept.
When you perform the jump rope boxer step, you’re alternating your weight between your left and right foot. It’s a slight lean from one foot to the other, transferring your weight.
You still want to land with both feet touching the ground (you’re not jumping on one leg). Instead of completely taking one foot off the ground, you’ll touch your toes to the floor while the other leg absorbs most of your weight.
Then, alternate to the other foot.
That’s really all there is to it, it’s that simple! There are some variations to this move that are a bit more complex, but the core movement is still the same.
Look at the demonstration above for visual on what you should look like when performing this move. And drop me a comment below if you have any questions.
Learning Single Leg Jumps
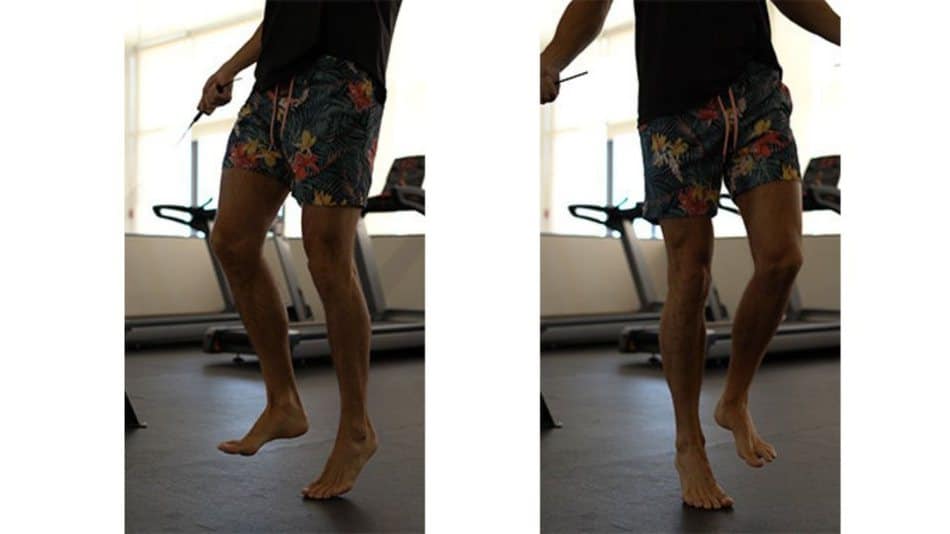
The next move every jumper should have in their repertoire is the single leg jump. While these aren’t as “sexy”, they are a great move to include in any jump rope workout.
The single leg jump targets the calf muscles in a way that the basic jump does not.
When you perform the single leg jump, you’re literally jumping on one leg at a time. Bring one foot up off the ground about 6 inches and jump on the opposite foot. Do this for how ever many reps, then alternate.
I’ll usually perform this move when I’m warming up for a leg workout. You should feel, very quickly, how well it engages your calf muscles.
Look at the demonstration above for an example of how this movement is performed. If you have any trouble, drop me a comment below and I’ll get back to you right away.
Learning High Knees Jump
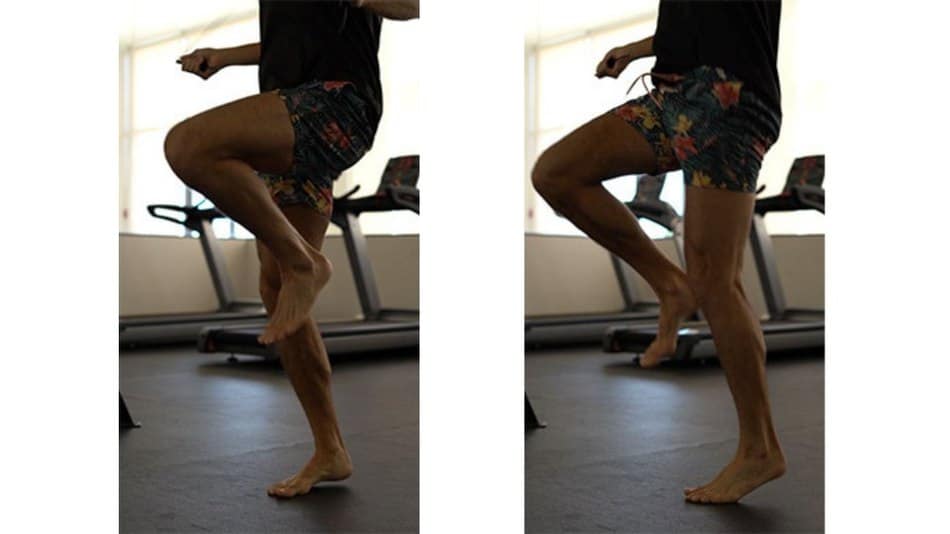
High knees are another jump rope movement that should be learned early on. It’s also a great movement to include in a jump rope workout. And, once mastered, can help you learn a variety of other jump rope tricks.
When you perform high knees, you’re essentially running in place while rotating the rope around your body. The only difference is you want to focus on bringing your knees up, in front of you, between each jump.
Practicing this movement without a jump rope, to start, can be extremely helpful.
This is also a great movement to increase the intensity of your jump rope workouts. Jump rope high knees allow you to jump at a much quicker pace (x2). This will help you burn ore calories and get your heart rate up quickly.
Once you’re able to perform high knees without any issues, you can use this same movement to help you learn other, more advanced tricks like the crossover.
It’s definitely worth learning…
Learning the Double-Under
Some might look at the double-under and say that’s more of an advanced movement. And, while it is a bit more complex than some of these other tricks, it’s actually quite simple.
The double-under, in my opinion, is a move every jumper should learn. It can significantly increase the intensity of your workouts and is a great trick to include when freestyle jumping.
When you perform jump rope double-unders, it’s important to utilize all the same fundamentals you use in the basic jump. The only difference is you need to jump slightly higher and rotate the rope slightly quicker.
Timing is also critical to perform this successfully.
Given you’re looking to rotate the rope around your body in a single jump, you’ll need to time your bounces perfectly. Try practicing this movement in front of the mirror, without the rope, to start.
Lastly, if you’re finding difficulty mastering this move you might try using a slightly shorter rope. Sometimes too much slack can make it challenging to get two rotations in a single jump. It definitely takes some practice, so be patient with yourself.